Just a disclaimer: removing ice dams from your roof is not something you want to do yourself. It can be highly dangerous and usually requires an expert.
When winter comes knocking on the door in Canada, one of the most common problems homeowners face is the formation of ice dams on their roofs. Ice dams can lead to severe damage if addressed. They can cause leaks, structural issues, and even pose safety hazards. That’s why it’s crucial to know how to remove ice dams safely and effectively. This guide will walk you through the steps on how to remove ice dams on your roof, ensuring your roof’s protection and longevity.

Why You Should Read This Guide
Understanding how to remove ice dams is essential for safeguarding your home and investment. By the end of this article, you’ll have the knowledge and tools to tackle ice dams head-on, preventing potential damage and costly repairs.
The Causes and Risks of Ice Dams
Before we delve into the removal process, it’s essential to understand what ice dams are, why they form, and the potential risks they pose to your home.
Causes of Ice Dams
Here are some of the reasons;
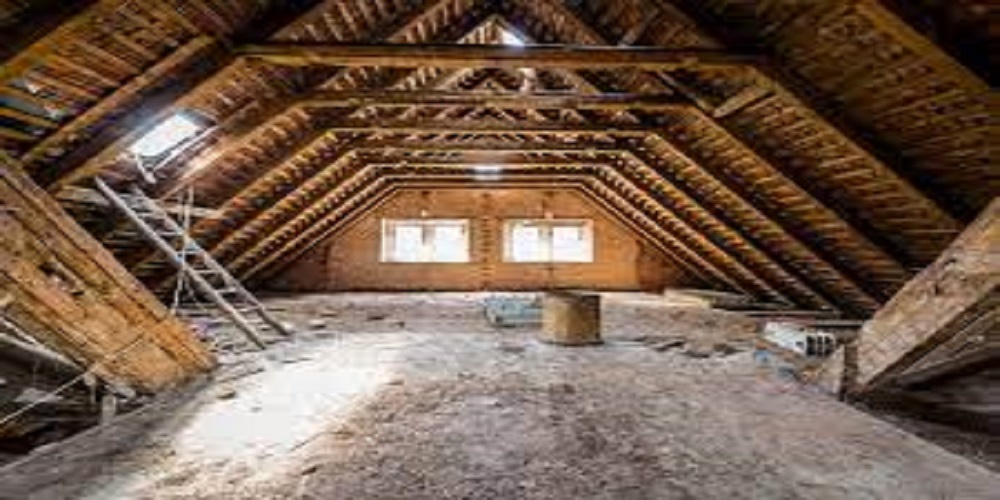
- Uneven Roof Temperature: Ice dams typically occur when different parts of your roof have varying temperatures. This can result from inadequate insulation and ventilation.
- Snow Accumulation: Heavy snowfall can accumulate a thick layer of snow on your roof, which acts as an insulator and promotes ice dam formation.
- Freezing and Thawing: Fluctuating winter temperatures cause the snow on your roof to melt during the day and refreeze at night, creating the conditions for ice dams.
Risks of Ice Dams
Here are the dangers of ice dams;
- Roof Damage: Ice dams can cause damage to your roofing materials, including shingles, underlayment, and the roof structure itself.
- Leaks and Water Damage: The most immediate risk is water infiltration into your home, leading to leaks, damaged ceilings, and potential mold growth.
- Energy Loss: Poorly insulated and ventilated attics can increase energy bills as the heat escapes through your roof, exacerbating ice dam formation.
Ice Dam Removal: Step by Step
Here are the steps to removing ice dams;
Step 1: Safety First
Before you begin the ice dam removal process, prioritize safety. Ensure you have the following equipment:
- Safety harness
- Roof rake
- Roofing shovel
- Ice melt or calcium chloride
- Safety goggles
- Work gloves
- Sturdy ladder
Step 2: Clear Snow from the Roof.
Use a roof rake to remove excess snow from your roof safely. Start from the edge and work your way up. Avoid standing directly beneath the snow as you clear it to prevent injury.
Step 3: Create a Channel
Once the snow is removed, create a channel or groove through the ice dam near the roof’s edge using a roofing shovel. This channel will allow melting ice to drain off the top.
Step 4: Apply Ice Melt
Sprinkle an ice melt product or calcium chloride into your created channel. This will help accelerate the melting process and prevent further ice dam formation.
Step 5: Prevent Future Ice Dams.
To avoid future ice dams, address the root causes. Improve insulation, ventilation, and sealing in your attic to maintain a consistent roof temperature.
Final Word
Ice dams are a common winter woe for homeowners in Canada, but with the proper knowledge and tools, you can effectively remove them and protect your home from potential damage. Remember, safety should be your top priority throughout the process. Following the steps outlined in this guide, you can tackle ice dams head-on and prevent costly repairs.
Don’t let ice dams wreak havoc on your roof and home. If you need more clarification about removing ice dams or professional assistance, contact Logik Roofing for expert guidance and services. Protect your investment and enjoy a safer, warmer winter.